![]()
Manage Users
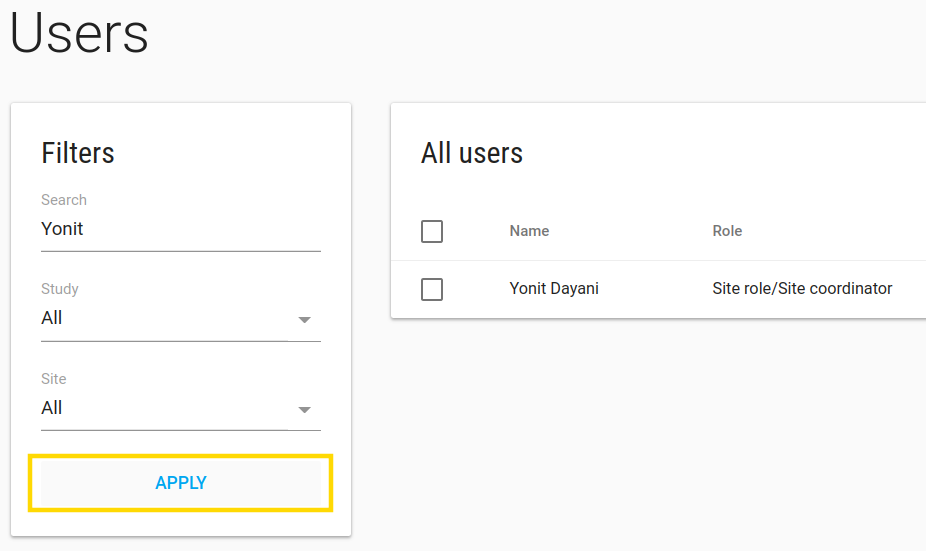
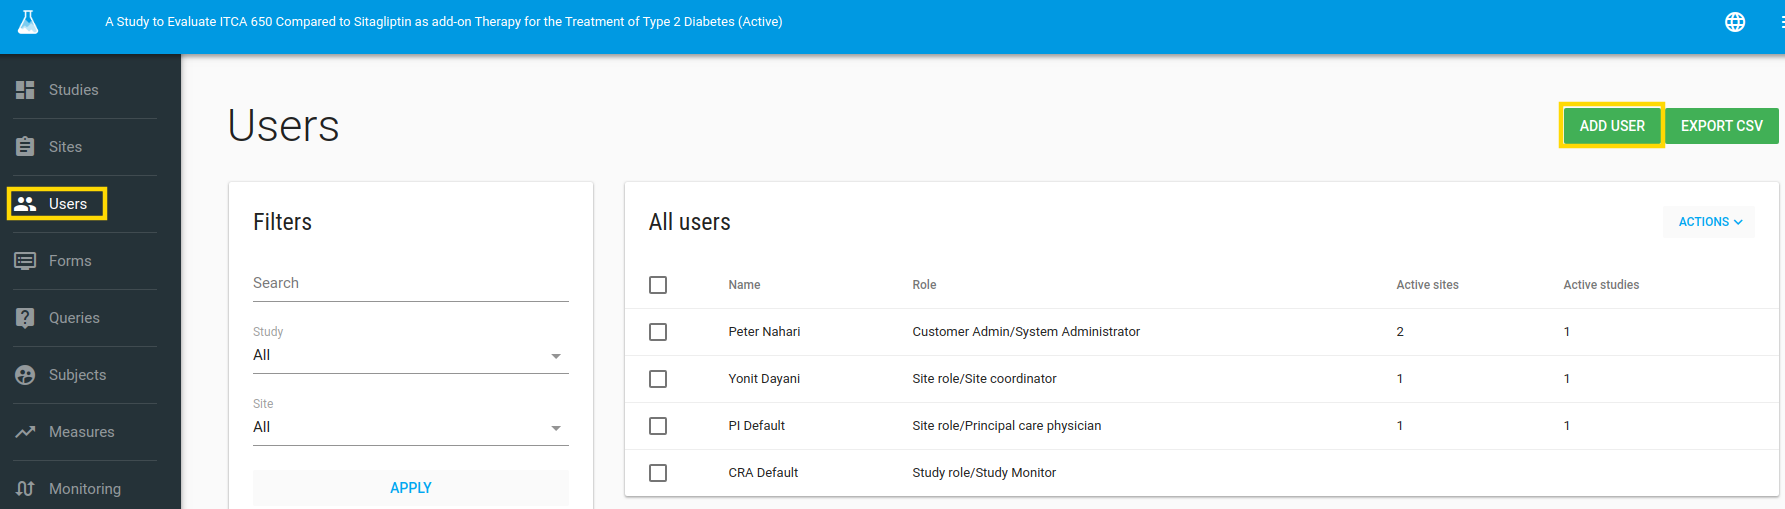
In the left menu bar click on Users. In this page - Users index you can add Users to your study, edit Users, assign User to site etc.
You can filter Users by study, site or what you want by the Search filter and then click APPLY
Default Users
By default, you have 4 Users assigned to your study:
1.Customer admin User - This is your User!
2.CRC Default - CRC User
3.PI Default - PI User
4.CRA Default - CRA User
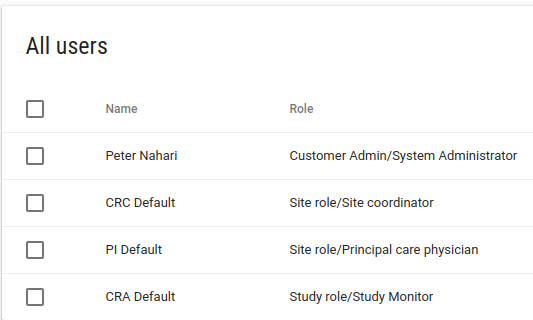
Each default User has another permissions.
Edit User
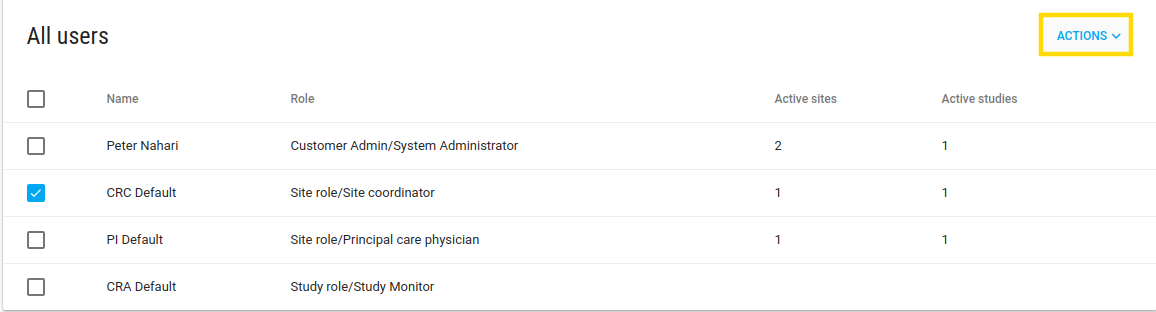
Edit the default Users to your right Users one by one, by ACTIONS-> EDIT option
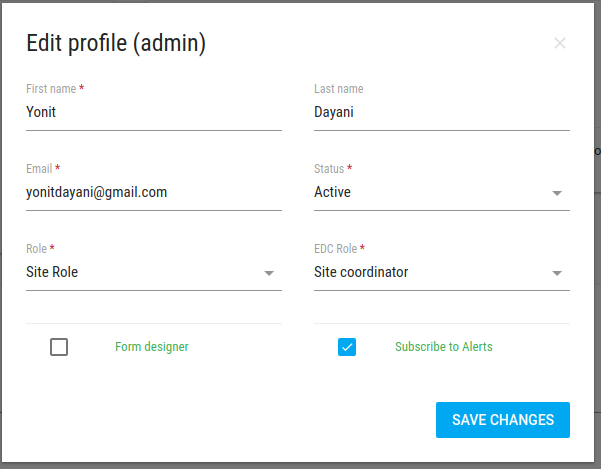
Profile
In the User profile page there is a pencil icon in the right corner of Profile card, click on it in order to edit the User properties.
After you create a new User or modify their email, you can send them an email to create password by clicking on Send create password
You don't have to do it - your Users can log in with their Google account.
User properties
In edit User Profile action you can change a few User's parameters
- Role There are 3 roles
- Customer Admin - User has all customer permissions - add/edit studis, Users, sites, alerts etc.
- Study Role - User has study permissions - to see all study data (of all the sites)
- Site Role - User has site level permissions - to see his site data, add subject to his site, create events and crfs to subject.
- Form designer: define if User has Forms permissions - add/edit/delete Events and CRFs from the system (by default only customer admin Users can do it).
- Subscribe to Alerts: define if ths User will get alerts from this study (according to alert rules).
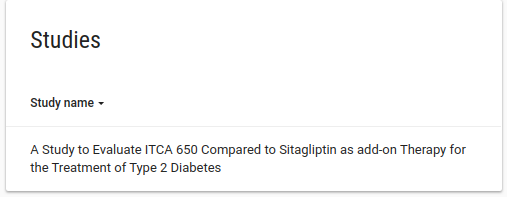
Studies
In Studies card you can see the User's studies
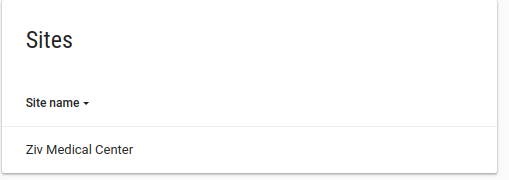
Sites
In Sites card you can see the User's sites (if the User is study role or customer admin he can see al study's sites)
Comments
In Comments card you can add comments about this User. Write your comments and click on ADD COMMENT button

Mange User sites
In User profile page you have an option to manage User sites.

Note
You have this option just if the User is a site role User, otherwise the User has permissions to all study's sites
In manage User sites page you can add/remove sites from User privileges.

User actions
In User profile page you have ACTIONS green button. In these actions button you have a few actions options:
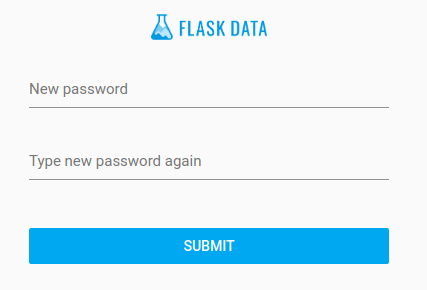
- Send create password - By clicking on this option you email the User with create a new password request.
- Login as this User - By clicking on this option you login to the system like you are this User.
-
Modify password - By clicking on this option you can modify the User password.
Add User
To add User click on ADD USER green button in Users index page
The User will be added to the selected study that appears in the title.

User properties
- Email should be unique for each User.
-
Role There are 3 optional roles:
2.1 Customer Admin (2)- Administrator of the customer - who has all permissions of this account, like - create User, create site, build CRFs etc.
2.2 Study role (3)- who has all study permissions - see, extract etc. all study data.
2.3 Site role (4)- who has specific site/s permissions - add subject to his site, fill CRFs, see site's data etc.
-
EDC Role - more specific role from Role (number 2), it's more relevant for customers that have EDC db.
| EDC Role ID | Flask Role ID | EDC Role Name |
|---|---|---|
| 1 | 2 | System Administrator |
| 2 | 3 | Study Administrator |
| 3 | 3 | Study Director |
| 6 | 3 | Study Monitor |
| 7 | 3 | Study Coder |
| 5 | 4 | Site coordinator |
| 4 | 4 | Principal investigator |
| 8 | 5 | Subject |
| 9 | 2 | API role |
| 77 | 2 | RiskGraph role |
Click on SAVE green button.
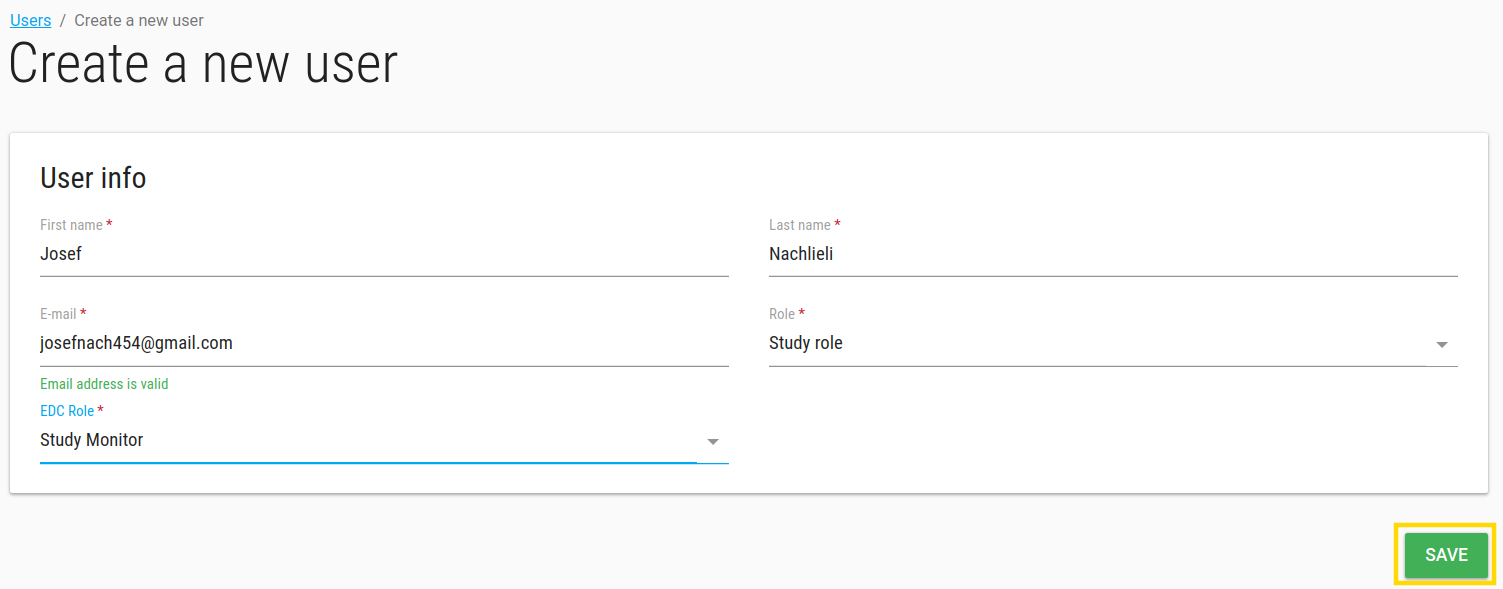
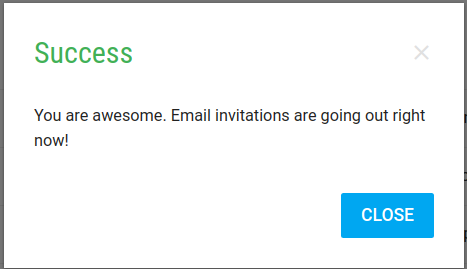
The User will get a Welcome message in their email.